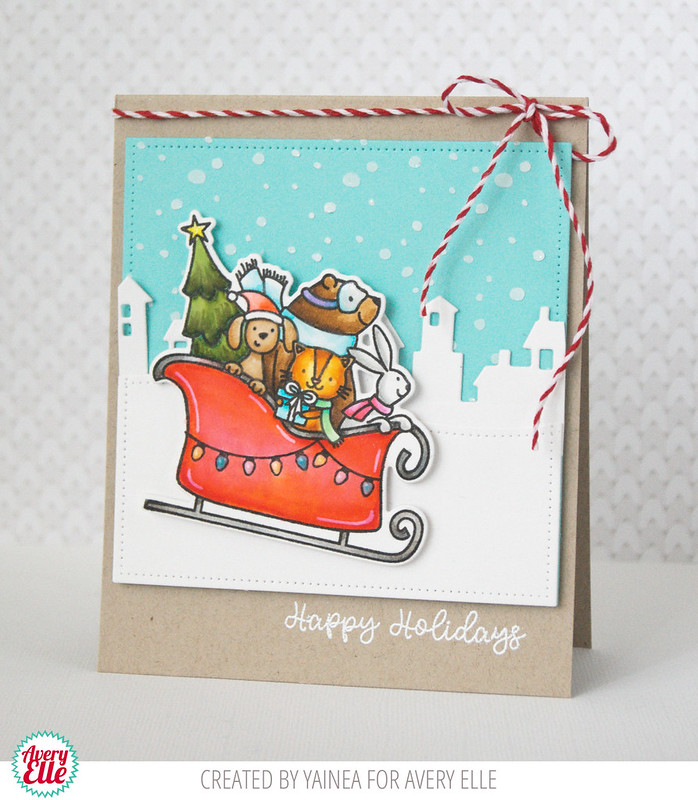
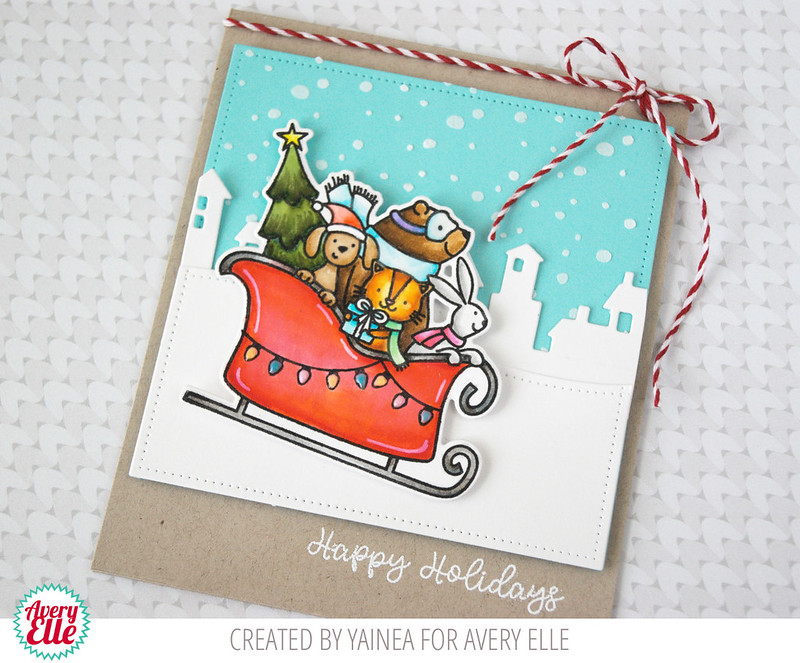
Today I'm sharing a card featuring the cute Sledding Critters stamps and dies.
I started by stamping them on Bristol smooth cardstock with a waterproof ink and then used my Zig Clean Color Real Brush markers and a waterbrush to color them.
Because the image is full of critters and I used bold colors for my coloring, I decided to keep the rest of the card simple. I created a little scene with some favorite dies: the new Cityscape Elle-ments and the super versatile Picket Fence Elle-ments. And because it's Christmas scene card, I wanted to add some snow. I love adding texture to my cards and a stencil seemed a great option to do that so I decided to create my own!
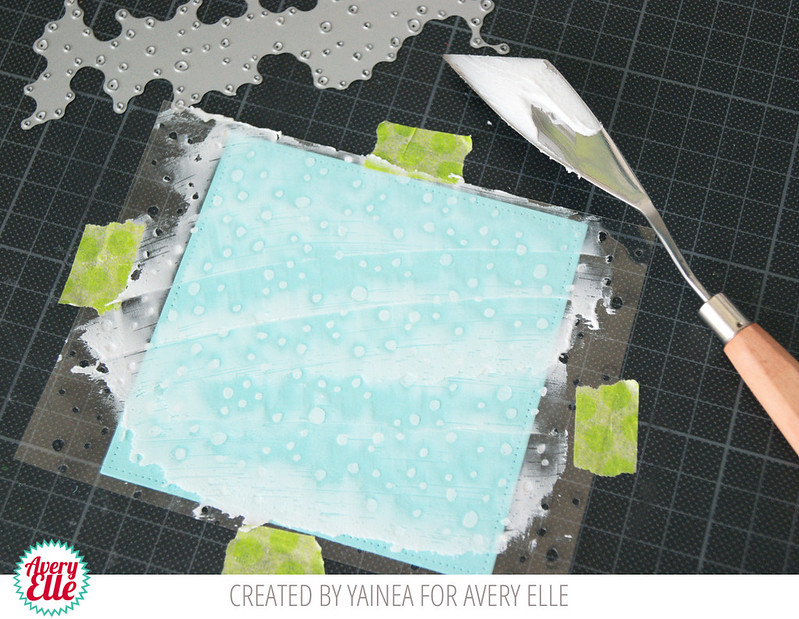
This is something really easy to do, you just need a piece of acetate and a die. I used the Falling Snow die, running it on top of my acetate piece several times until I have it completely covered of "snow holes". Then I placed my custom stencil on top of my piece of cardstock and applied some snow embossing paste.
Once the background is covered with snow, make sure to clean everything with water so you can keep using your new stencil forever :) Then let the snow dry and you're ready to finish your card!
I adhered my scene panel to a kraft card base where I heat embossed the sentiment of the card and,
as a little detail, I used some Glossy Accents on the bear glasses, several colors of Nuvo drops on the Christmas lights and some twine for the top of the card :)
I hope you like my project and give a try to my little tip. You can create your own stencils using a lot of different big and small dies from different sets, just have fun!
Thank you so much for stopping by, have a great day!
Supply list:
Avery Elle:


Ellen Hutson:


3 comments:
That is so cute! And I love your tip about making your own stencil. Thank you!!
What a super cool and fun card! Love your own custom stencil :)
That winter scene card is so cute and fun. And the home-made stencil is a great idea. Thanks for sharing.
Post a Comment