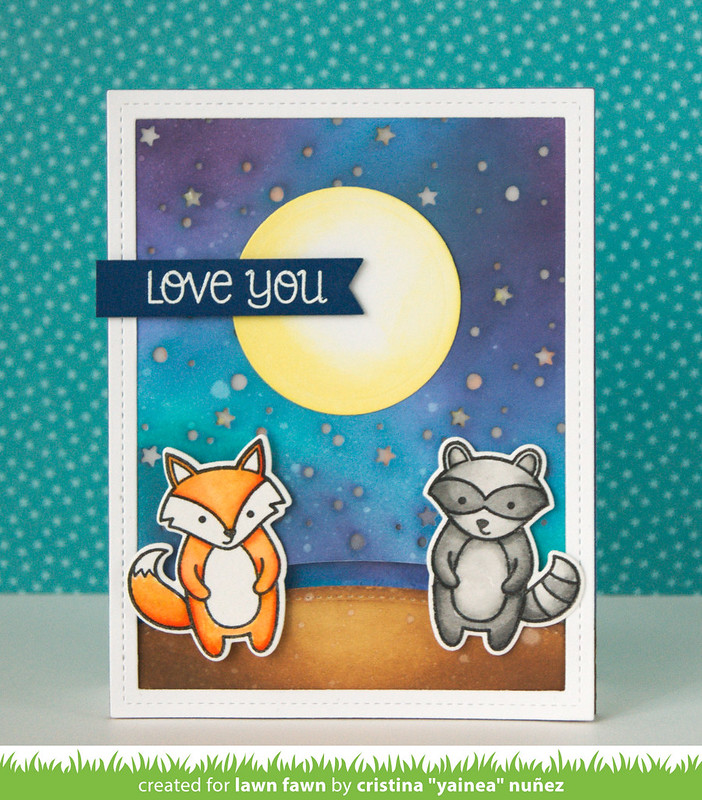
It's me again with another Chibitronics & Lawn Fawn project! I couldn't stop on the mason jar card and I had to make another one, it's similar but I added a different light up mechanism :)
If you have not seen my Chibitronics & Lawn Fawn video showing how to make a light up card, you can see it here on my Youtube channel (and you can subscribe too if you are interested on more videos! =)
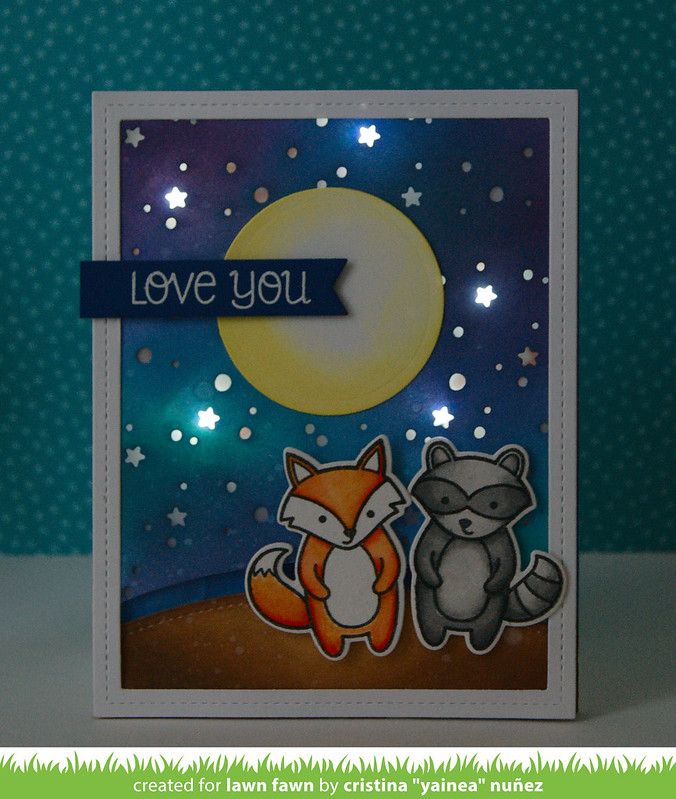
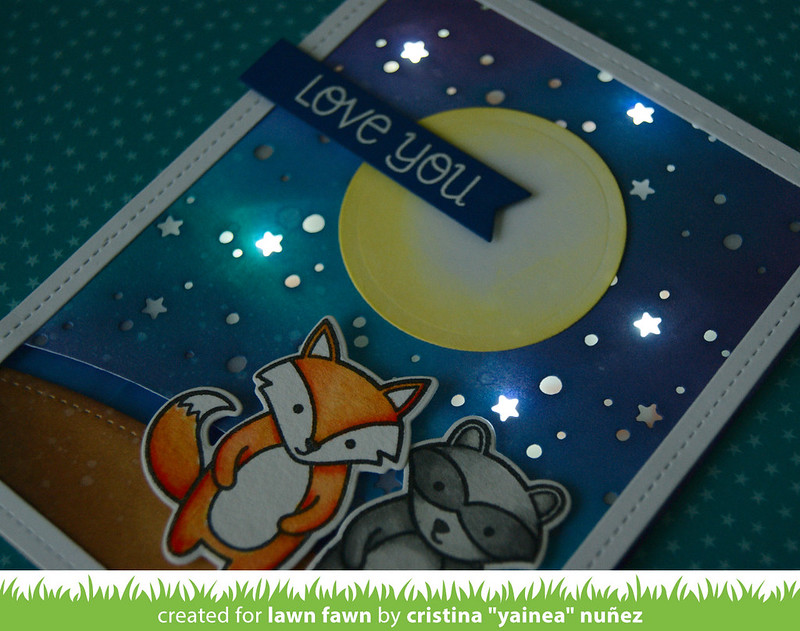
I started with a night sky like in my previous card but this time I added lots of stars with Snowy Backdrops. Then I added two cute critters and a slider mechanism. When you move the foxy and he's by the side of the racoon, the stars light up.
Here's the card on it's "off position":

And here's the card on its "on" position:

It's super pretty in real person!! I must confess that I've been moving the foxy from one side to another just to see the stars brighten up the card <3
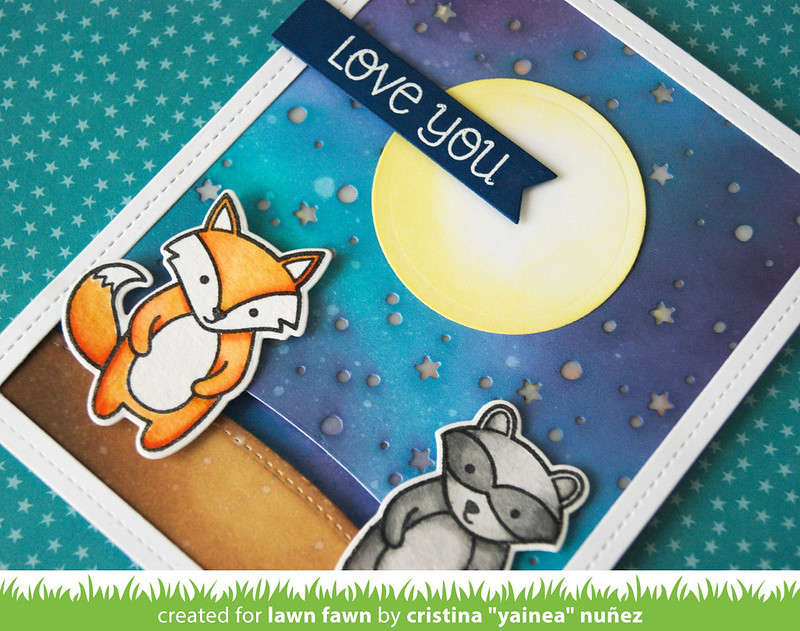
I colored the Critters with Clean Color Real Brush markers, and each time I use them, I love them more. I want to make a video showing you how I use them, but I want to practice a bit more first :)

Here's a closer look on the sky. I used vellum behind the die cut panel so the LED lights are more diffuse, this way I lighten up more or less most of the sky with only 5 LEDs.

Don't miss all the amazing projects that my DT buddies made during these 2 colaboration days! You should visit the Lawn Fawn blog to see that the posibilities with these chibi lights are endless!! ;)
Supply list:
- Lawn Fawn stamps: Party Animal, Holiday Party Animal, Love You Tons
- Lawn Fawn dies: Party Animal, Holiday Party Animal, Snowy Backdrops, Circle Stackables, Stitched Hillside Border, Double Stitched Reclanges, Everyday banners
- Lawn Fawn cardstock
- Chibitronics starter kit
- Versafine ink: Onyx Black
- Distress inks
- Versamark ink
- White embossing powder
- Clean Color Real Brush markers

6 comments:
Yainea, your card is simply fantastic!
This is seriously freakin' cool!
Do you have a tutorial on the slider light up card on YouTube or even the written instructions and maybe a diagram? I am just getting "hooked" on the lights and this is exactly what has been on my brain for some time now and just stumbled across this tonight (early morning). I love this card you made!!
Yainea, how do the Clean Color Real Brush markers compare to Copic Markers for blending on paper? Copic Markers are out of my price range, so I usually use either watercolor pencils or paints. I would like to try the markers, but have read that they don't blend that well. What is your experience?
Hi Kathy!
Hmmm... They're very different. Clean Color Real Brush markers blend well but it depends on the paper, my favorite is Bristol Smooth paper to use them with no or very little amount of water. They look great on watercolor paper, I blend them together or using a little brush with water or a waterbrush (those with water inside). Anyways, I've found that sometimes colors fade out with time and that's what I dislike most about them. I keep using them but I don't like to send those cards to people, being afraid of that color loose. Copic markers are very pricey, I've been buying some from time to time and I don't have a big collection but I think they are my favorite color medium, easy and quick. Lately, I've seen new alcohol markers brands at great prices here and there and seeing youtube reviews I found they work great. I haven't tried any of those myself, though, but I really encourage you to take a look at them. I would suggest Spectrum Noir or Stylefile (I think they are like 2€ per marker or so), people talks great about brands for sale at aliexpress, too. You can always buy 3 or 4 markers of a similar shade to try them and see if you feel comfy with them :) Hope this helps! If you need more info, I'm always glad to help, just send me an email!
Post a Comment