Showing posts with label Halloween. Show all posts

Tuesday, September 29, 2020

Boo to you

 Hello friends!!

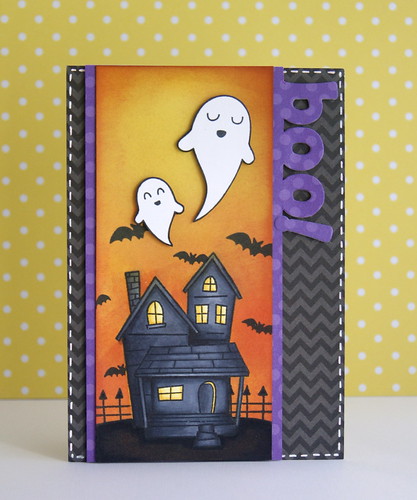
I'm here today sharing a Halloween project showcasing the super cute Boo to You stamps and dies from Avery Elle. Even when this holiday is not very popular here in Spain (it's getting more popular each year, though) I always loved it, the color scheme is just great and the cute-creepy things, the costumes... And of course, the stamps!! I also love making shakers so I reall enjoyed creating this card :)


I used patterned papers from the Spring Collection which make a pastel version of the traditional Halloween colors and added some black glittery cardstock. The cute images were colored with Clean Color Real Brushes and I filled the shaker with a custom mix of sequins that match the color scheme.  


I hope you feel inspired to create some fun Halloween projects! Thank you so much for stopping by today, hace a great day!

Supply list:

Friday, November 1, 2013

Happy Halloween!

Hi friends!!
Just popping by to wish you all Happy Halloween!! I couldn't miss the chance to share one more card, I have a lot of fun coloring this one :)


Thanks for your visit, have a great weekend!

Thursday, October 31, 2013

Avery Elle Release Blog Hop!

Hi!!
I'm super excited because I'm going to be the Avery Elle guest designer during the month of November and Jamie also invited me to join the October/November release blog hop, I'm so happy and honored!! I hope you enjoy it!


I'm using "Let it Snow" for my card. I just LOVE this set! The trees and the gorgeous sentiments stolen my heart :) 
And because today is October 31st, I had to use this Winter/Christmas set to make a Halloween card, I just needed to add some google eyes, thickers and stickers and here it is!


To celebrate our October/November Release Blog Hop, Avery Elle is giving away a $25 Gift Certificate to one random winner.  To enter to win just comment on this post.  There is no purchase necessary and you must be 18 years of age or older to enter.  This giveaway is void where prohibited.  You can also do options 2, 3, 4, 5 or all 6 of the following to increase your chances of winning. You have until midnight Sunday, November 3rd to enter.  The winner will be announced on the Avery Elle Blog on Monday, November 4th .  All products are available for purchase in the Avery Elle store right now.

To enter to win you can do 1, 2, 3, 4, 5 or all 6 of the following to increase your chances:
  1. Comment on any of the design team's posts and/or here on the Avery Elle Blog
  2. Follow us on Twitter and tweet the contest (we are @averyellestamps )
  3. Follow us on Facebook (we are www.facebook.com/AveryElle ) and share us with your friends - make sure they tell us you sent them.
  4. Follow us on Pinterest
  5. Become a blog follower through Feedly or Blog Lovin' (comment on the Avery Elle blog if you already follow us)
  6. Join our Flickr group (comment on the Avery Elle blog if you already belong)
Here's the blog hop order: 
Yainea <-- You're here!

Don't miss all the amazing creations! Thank you so much for stopping by, have a fun Halloween and amazing rest of the week!!

Supply list:
- Avery Elle stamps: Let it Snow
- Echo Park papers: Dots & Stripes
- Distress inks: Shaded Lilac, Seedless Preserves, Dusty Concord
- Versafine ink: Onyx Black
- Lawn Trimmings: Retro
- Thickers
- Googly eyes

Wednesday, September 11, 2013

Lawn Fawn & Core'dinations week!

Hola! Happy Wednesday!
It's my turn to share my Lawn Fawn + Core'dinations project! This two great companies are teaming up this week so be sure to visit both blogs everyday for a lot of inspiration and giveaways ;)

First of all I want to thank the people of Core'dinations for the big amount of fantastic stuff, I love it abd I'm enjoying it a lot!

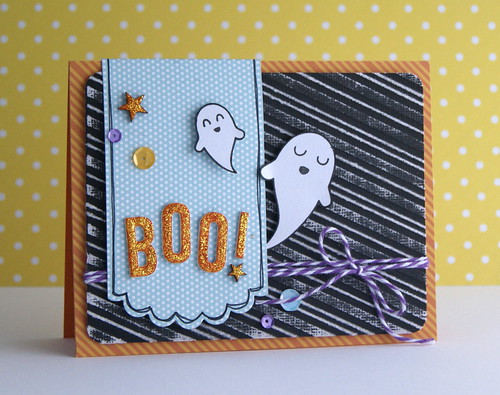
And now, onto the card! I made a Halloween project because sanding Core'dinations cardstock is supah fun and Halloween cards are perfect for a distressed background. So I used Black Magic cardstock, embossed it and then sanded it with the Sand it Gadget. This produces a lot of dust and the Dust Buddy is amazingly effective to clean it up! Once the background is done, I just played with some Lawn Fawn stuff and used Core'dinations cardstock for the ghosts as well.


Oh! And have you seen that banner? I wanted something different and more fun than the classic banner and it's not a new die, just the Scalloped Circle Stackables! I love when I can do more with the things I have!
Here's how I did it, just place the die this way and run it through your cutting machine :)


Thank you so much for visiting my blog today! Have a nice day!

Supply list:
- Lawn Fawn stamps: Happy Haunting
- Lawn Fawn papers: Into the Woods
- Lawn Cuts: Cole's ABCs, Scalloped Circle Stackables
- Lawn Ornaments: Into the Woods sequins
- Core'dinations cardstock: Black Magic in White, ColorCore in Snowflake
- The Twinery twine
- Memento ink and marker: Tuxedo Black
- Stickles: Orange Peel
- Studio Calico wood veneers: Stars
- Avery Elle sequins: Royal Blend
- Cuttlebug embossing folder: Candy Cane

Monday, November 5, 2012

Halloween leftovers

Hi!!
I hope you had a lovely weekend! I've been on a trip all week with my boyfriend, we were visiting Budapest, Hungary so even when I made some Halloween projects in advance, a cause of some technical issues and lack of time I couldn't post them and I missed Halloween!! >.<

I took photos of 3 projects and I have other 3 not completely finished that I'll not share this time. It's a whole year until next Halloween so I can't wait so long to share the ones I have photos of. I hope you enjoy them :)

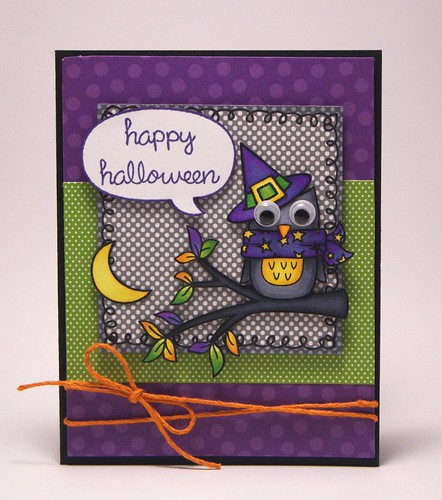
The first project I want to show you is a card that you have propably seen on Lawn Fawn blog this week. We teamed up with Scrapbook Adhesives and created a project using their products. I must say I've never used them before and I totally love them! Love the thinner 3D foam dots combined with the normal ones to create a lot of dimension. I also love the little glue dots, they're super useful!


So I made a Halloween card combining lots of Lawn Fawn sets. I really enjoy doing this!! Here are a pair of phone pics of how I made the owl. I masked all the owl except from the scarf and stamped the little stars from Critters Ever After.


Supply list:
- Lawn Fawn stamps: Winter owl, Hats off to you, A birdie told me, Critters Down Under, Critters Ever After, Happy Everything and Belinda's Borders
- Lawn Fawn Retro trimmings
- Scrapbook Adhesives
- Doodlebug Design papers: Haunted Manor 6x6 pad
- Memento inks: Tuxedo Black and Grape Jelly
- Googly Eyes
- Copics

My second project features a Deasy Designs stamp set. The sad news is that the clear stamps from this company are no longer available but you can purchase it as a digital stamp here.


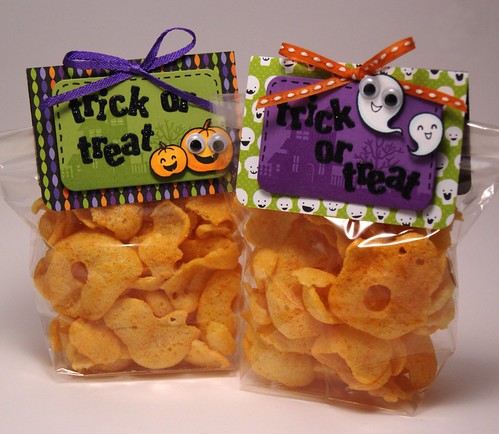
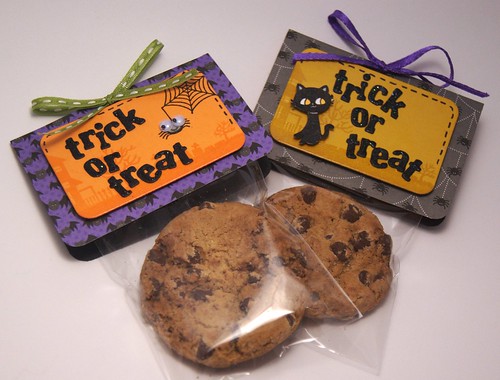
Well, I made a set of Halloween treat bag toppers, and I love them! I used a lit of the images in the set following the same scheme for the four different toppers. I LOVE the spooky skyline so I clear embossed it to create my background, then I colored with copics some of the images and place them with foam adhesives. I added some googly eyes here and there for more fun!


Supply list:
- Deasy Designs stamps: Boo to You
- Doodlebug Design papers: Haunted Manor 6x6 pad
- Copics
- May Arts ribbon
- Bazzil Card Shoppe colored cardstock
- Googly Eyes
- Scrapbook Adhesives: 3D foam dots and adhesive runner
- Versafine ink: Onyx Black
- Versamark ink and clear embossing powder

My third project is a fun card full of googly eyes and glitter! I used glue dots from Scrapbook Adhesives to place all those eyes super quicky!


Supply list:
- Lawn Fawn stamps: Teeny Tiny backdrops and Sally's ABCs
- Googly eyes
- Doodlebug Design papers: Haunted Manor 6x6 pad
- Scrapbook Adhesives
- American Crafts glitter tape
- Versafine Onyx Black
- Versamark ink
- WOW embossing powder in glitter gold
- Bazzil Card Shoppe colored cardstock
- Simon Says Stamp stars dies
- Faber Castell gold pen

Thank you for visitng my blog and sorry for being late with this post. Have a great week!